Acer 品牌


-
Acer Vero
綠色電腦產品
-
Windows 11
為您介紹 Windows 11
-
Acer Corner
Acer 官方部落格
-
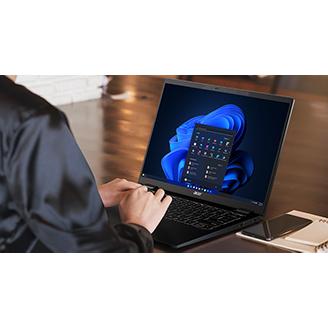
Windows 11 專業版
適用於 Acer 商務筆記型電腦的 Windows 11 專業版
Acer 品牌
綠色電腦產品
為您介紹 Windows 11

Acer 官方部落格
適用於 Acer 商務筆記型電腦的 Windows 11 專業版