問題描述:
我該如何安裝 Acer Sync 進行同步備份呢?
解說:
Step 1.
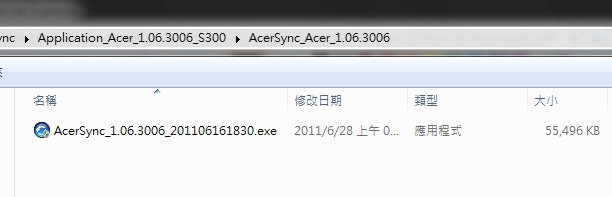
請先到宏碁官網 http://www.acer.com.tw/ac/zh/TW/content/drivers下載專區下載驅動程式 USB Driver 及應用程式 Acer Sync。
以下操作為S300(ICONIA SMART 為例)
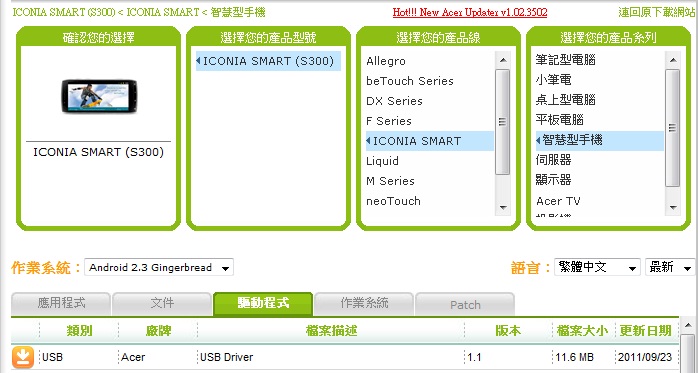

Step 2
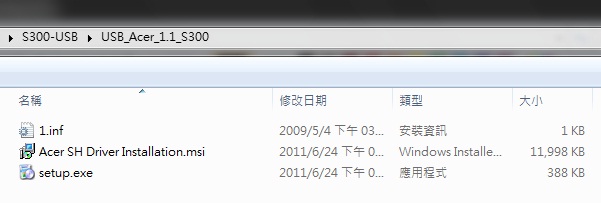
下載完成後,請解壓縮後再安裝驅動程式 USB Driver,執行setup.exe 。
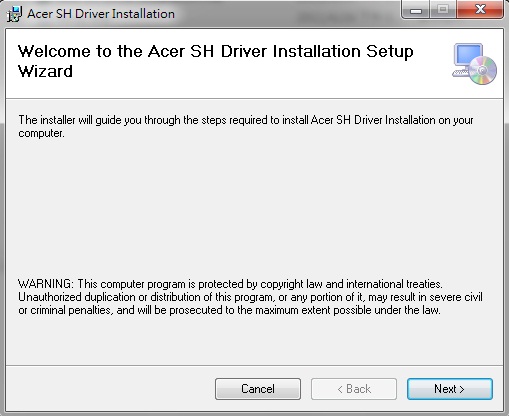
Step 3
請按『Next』
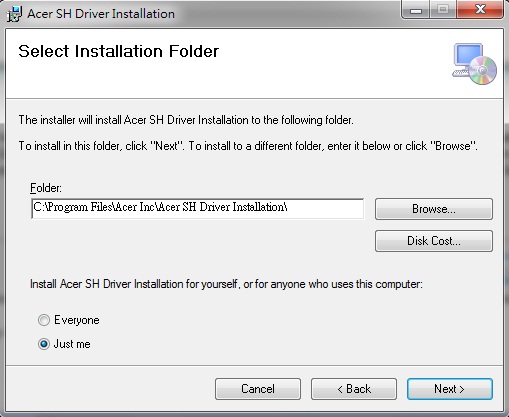
Step 4
請按『Next』
Step 5
請按『Next』
Step 6
出現安裝畫面
Step 7
請確認手機不要連結電腦訊息

Step 8
安裝完USB Driver 之後,請按『Close』。再安裝Acer Sync 同步軟體
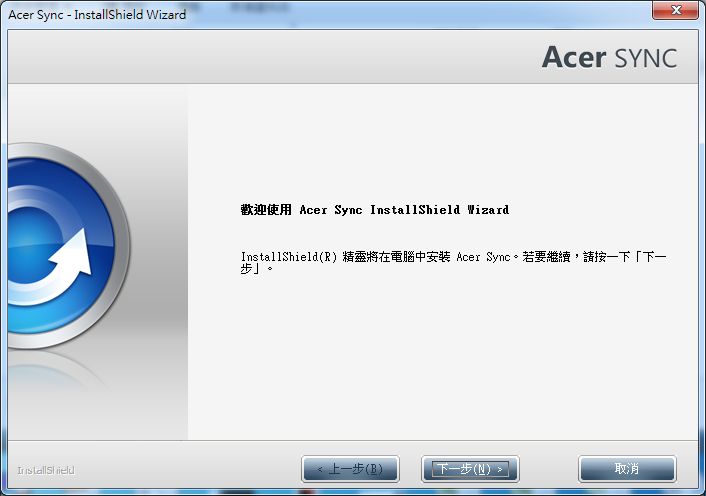
Step 9
歡迎安裝 Acer Sync 請按『下一步』開始安裝。
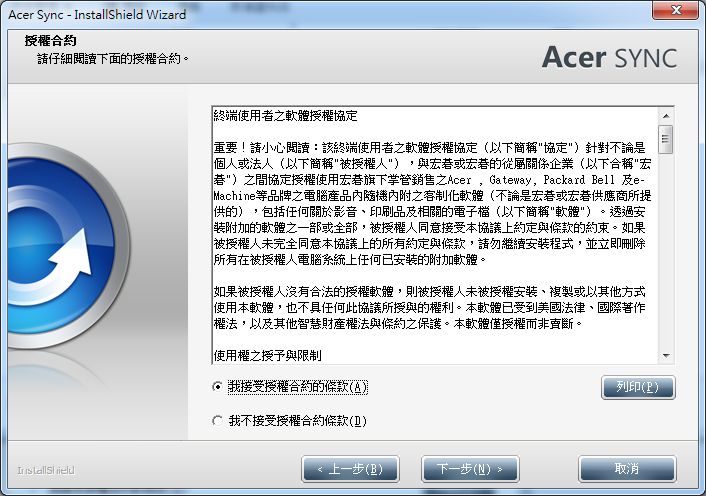
Step 10
請確認授權合約內容後,請點選『我接受授權合約...』並按『下一步』。
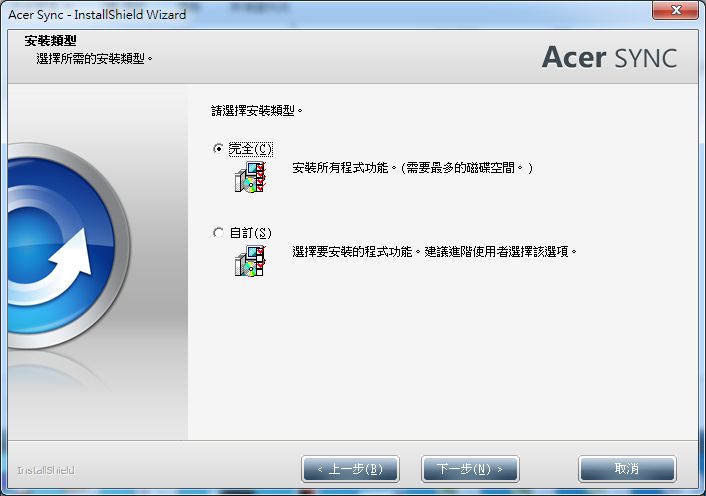
Step 11
請確認安裝類型,請點選完全(預設即是),並按『下一步』。
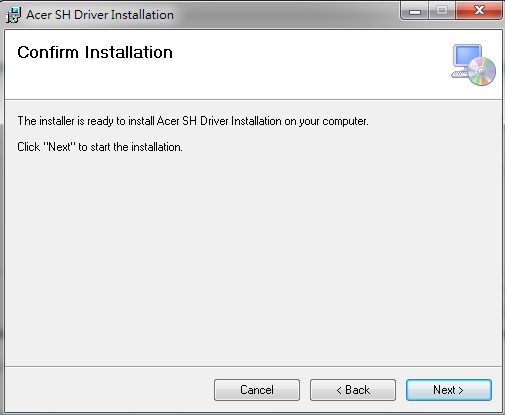
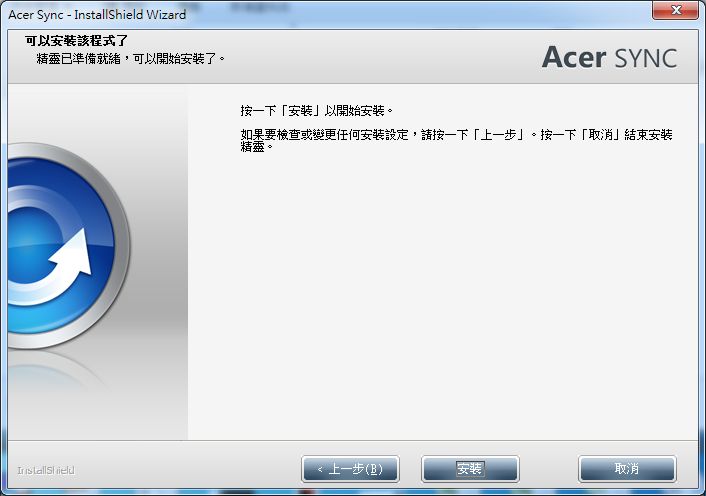
Step 12
確認完成後請按『安裝』。
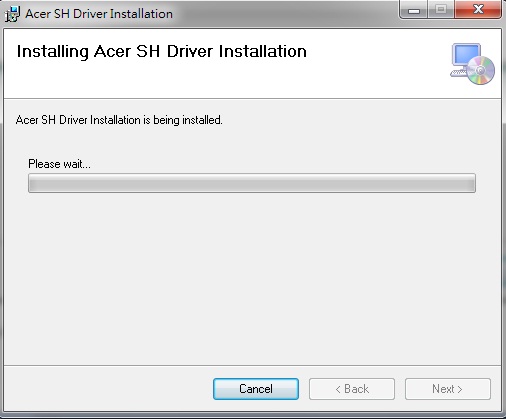
Step 13
安裝進行中。

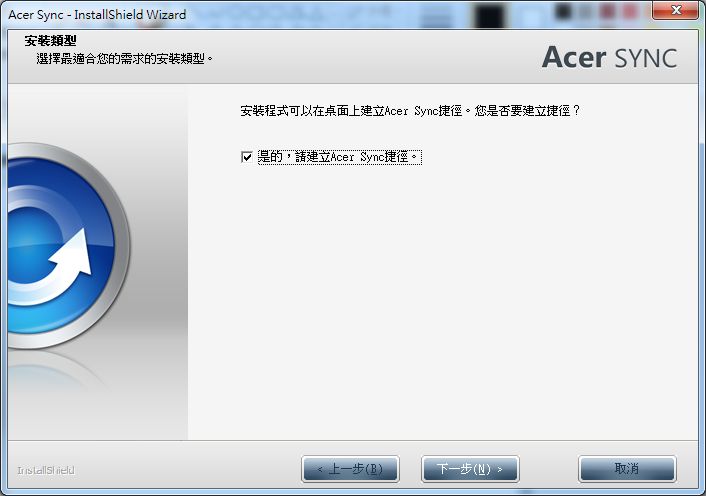
Step 14
確認是否需要在桌面上建立 Acer Sync 捷徑,請點選『是的...』並按『下一步』。
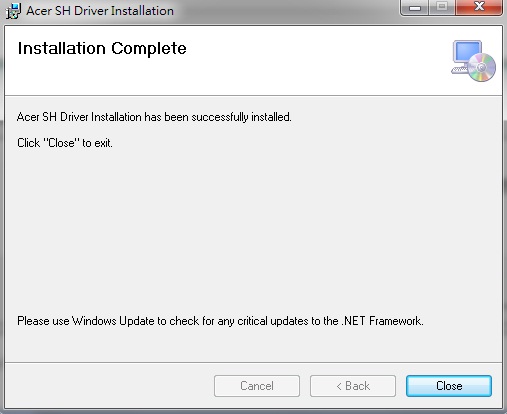
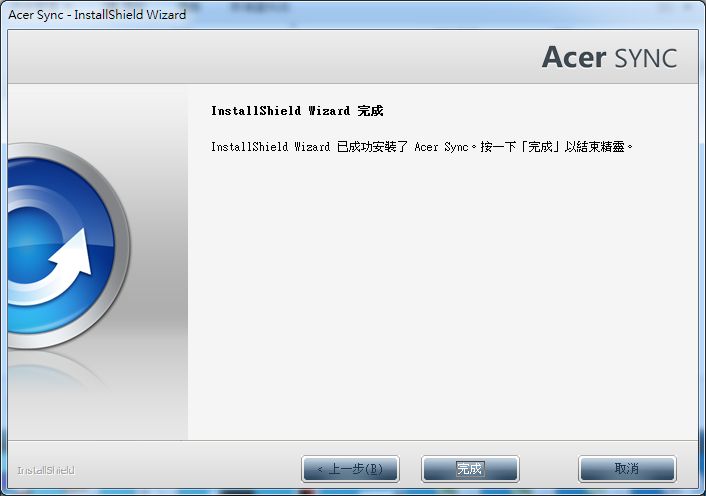
Step 15
Acer Sync 已安裝完成,請『完成』離開安裝程序。
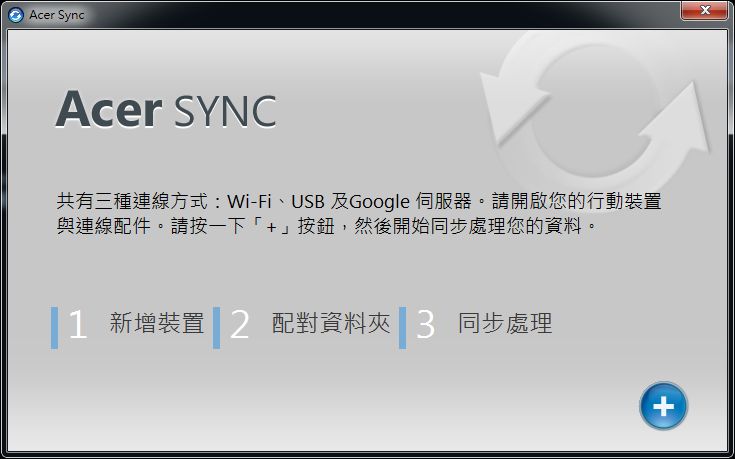
Step 16
接下來點選桌面上的 Acer Sync 捷徑來開啟。

Step 17. Acer Sync 啟動時會需要網際網路連線,請您點選『允許存取』。

Step 18
Acer Sync 有三種連線方式,接下來我們將以常用的 USB 同步方式進行介紹,請按  開始同步。
開始同步。
Step 19
此時請接上S300 USB 連結到電腦上。
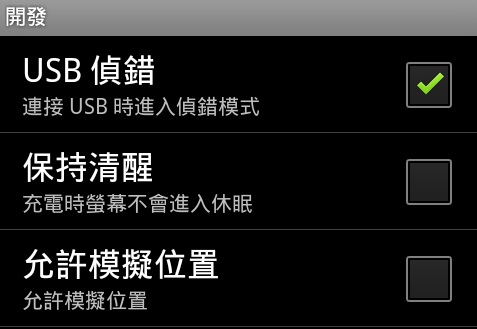
往上撥進入程式集,點選『設定』 ,點選『應用程式』
 ,點選『開發』,勾選『USB 偵錯』
Step 20
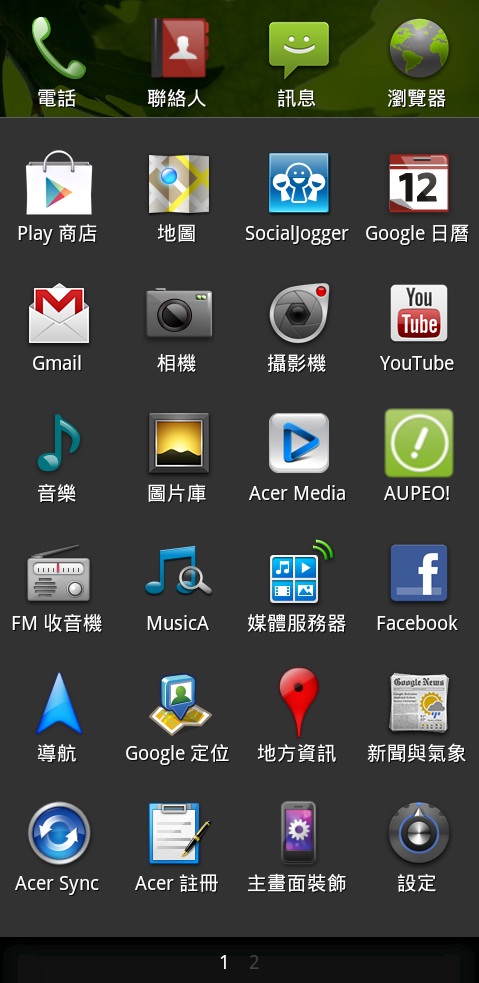
按螢幕左下角之Home 鍵,往上撥進入程式集,選擇 Acer Sync  。
。
Step 21
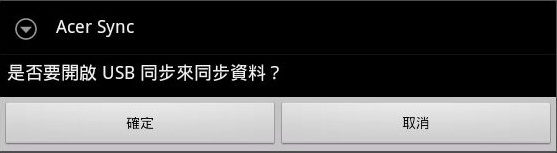
開啟 S300 Acer Sync 後,選擇『確定』開啟 USB 同步,此時再回到電腦操作
Step 22
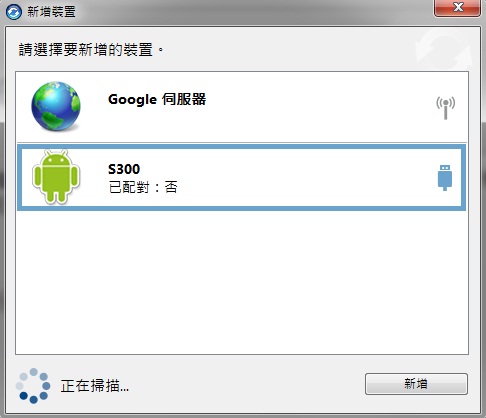
請選擇 S300 USB 進行同步。

(後面有 USB 符號的)
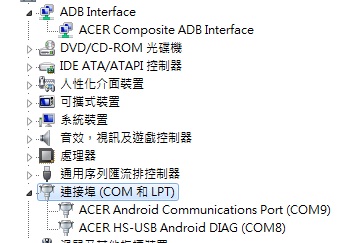
Step 23
電腦上的『控制台』『系統與安全性』『系統』『裝制管理員』上,看到ADB Interface 與COM port
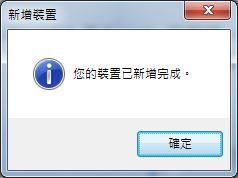
Step 24
此時會收到『您的裝置已新增完成』請按『確定』。
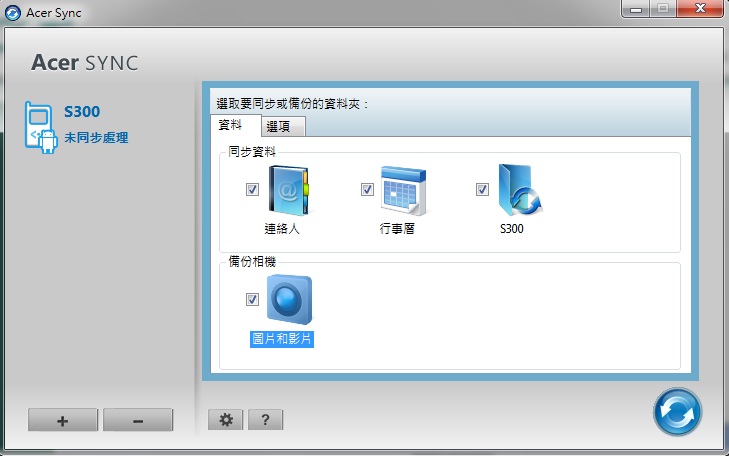
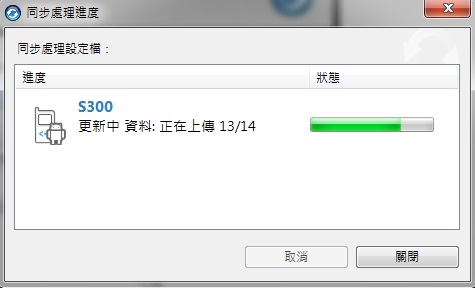
Step 25
此時請將連絡人、行事歷、S300 資料夾、圖片和影片皆勾選後,請按  開始進行同步。
Step 26
電腦上事先要安裝Outlook 2003 或Outlook 2007或Outlook 2010 ,巳設定好
Step 27
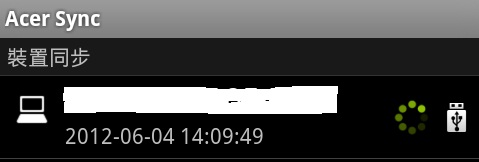
S300 手機上看到同步畫面
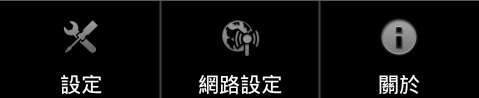
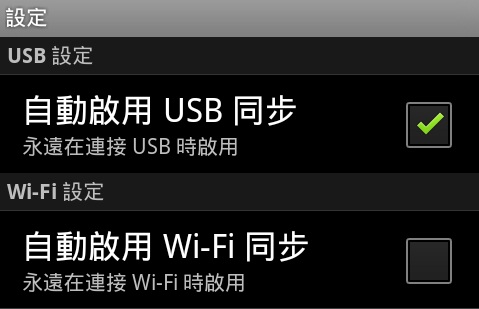
按下螢幕右下角之功能鍵  ,點選『設定』
勾選『自動啟用USB 同步』
Step 28
接下來會同步 S300 的連絡人、行事歷、S300 資料夾、圖片和影片等資料。
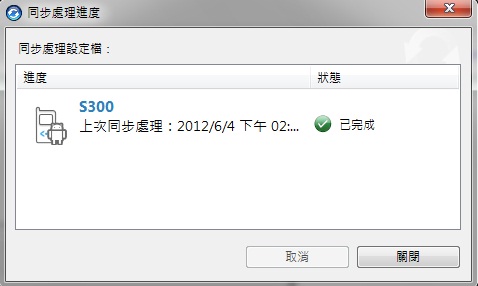
Step 29
完成後會出現你系統已備份完成的通知,請按即可離開。