**請注意**升級至Android 2.1後是無法再回復到Android 1.6
注意事項:
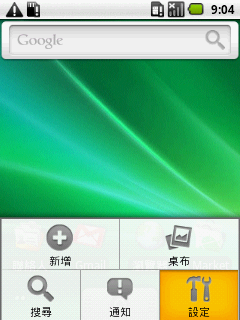
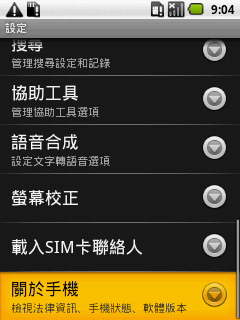
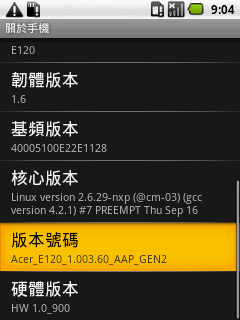
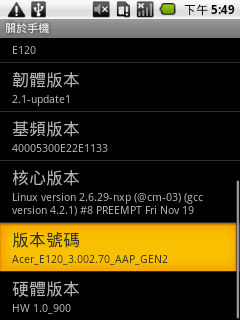
1. 升級前請確認OS版本,檢查方法如下:
請在"設定">>"關於手機">>"版本號碼",請注意版本需為"AAP_GEN2"
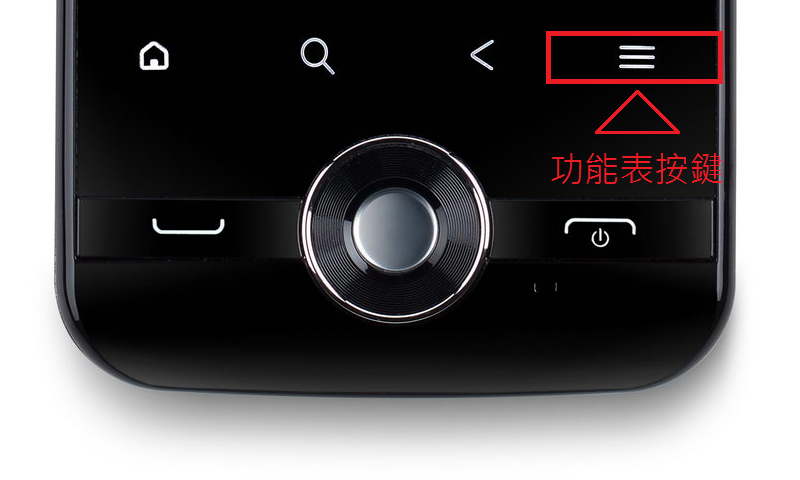
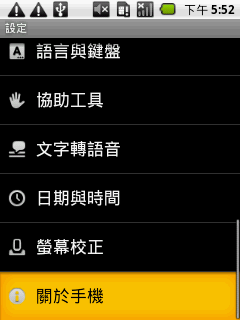
如何點選"設定"畫面>>請按手機的"功能表按鍵",如圖示
例如:Acer_E120_X.XXX.XX_AAP_GEN2
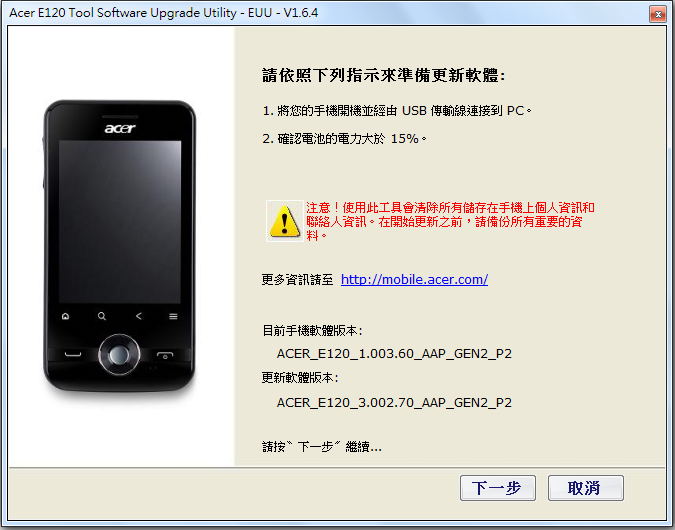
2. 升級後的版本為:Acer_E120_3.002.70_AAP_GEN2

3. 系統需求 :
a. Microsoft Windows XP 32 Bits (service Pack 2 or above) 或者 Windows Vista or Windows 7 (32/64 Bits)
b. Microsoft Net Framework 2.0 (Service Pack 2)以上
c. 確認 Microsoft Visual C++2005 Redistributable package 已安裝於系統上
d. 需透過Micro USB Cable連線 (原出貨手機配件)
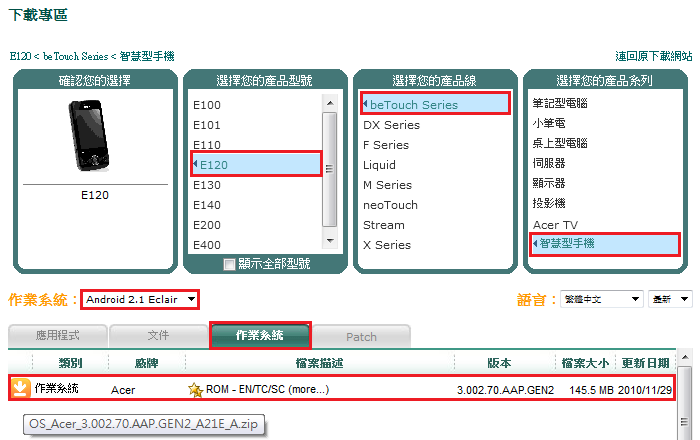
e. 升級軟體請在宏碁官網下載(http://www.acer.com.tw) "OS_Acer_1.005.20.AAP.GEN2_A16D_A.zip" (已含USB Driver)
4. 此升級只針對Acer E120,並不適用於其他機種
5. 升級過程中,會清除手機上原有的所有資料,務必在更新前確認清楚,一旦開始執行或完成升級後,是無法回復的
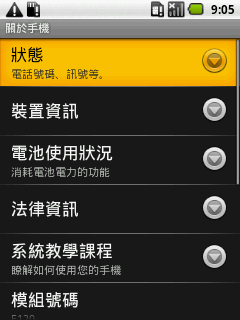
6. 請確認手機內的電池電量指示必須超過15%以上,以避免在執行升級過程中因電力不足而中斷
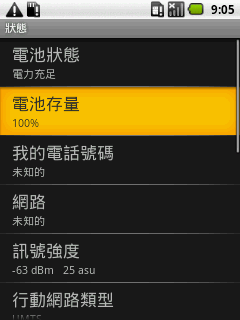
檢查電池狀態及存量:請在"設定">>"關於手機">>"狀態">>電池狀態或電池存量
升級步驟:
Step1.
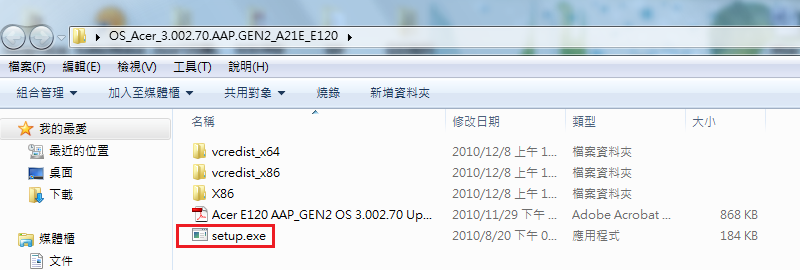
請將下載的檔案(OS_Acer_1.005.20.AAP.GEN2_A16D_A.zip)解壓縮後執行"setup.exe"進行安裝
建議您此時先將手機透過USB Cable接上電腦,接上後可能會出現請您安裝USB驅動程式的畫面,
請先忽略該訊息,待完成Step5操作時,USB驅動程式會自動安裝完成,如果曾經手動安裝過USB
驅動程式的話,則不會出現需要安裝驅動程式的訊息
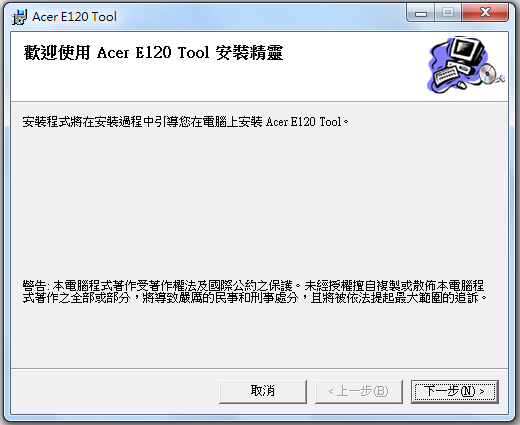
待安裝精靈畫面出現後,請按"下一步"
Step2.
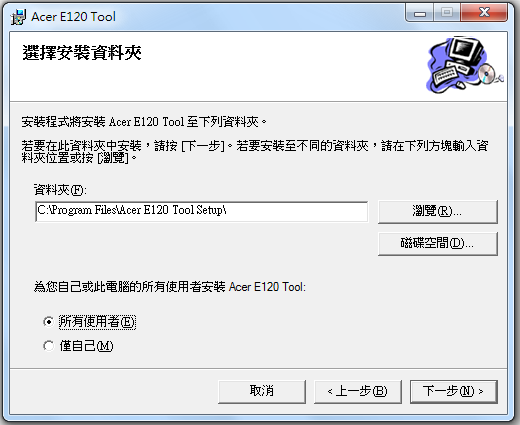
選擇適合的安裝資料夾(可視需要變更路徑),確認後按"下一步"
Step3.
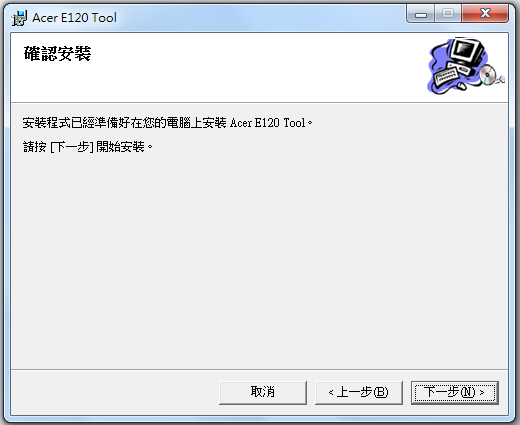
請按"下一步"
Step4.
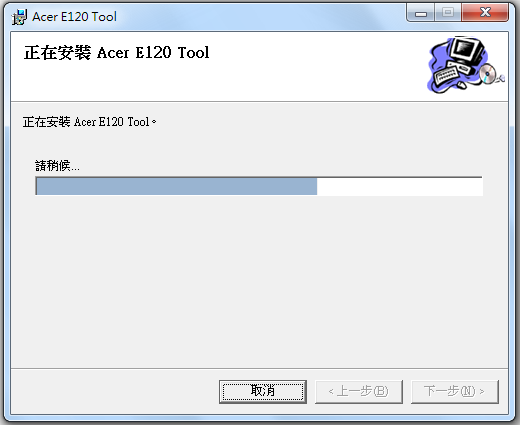
安裝畫面
Step5.
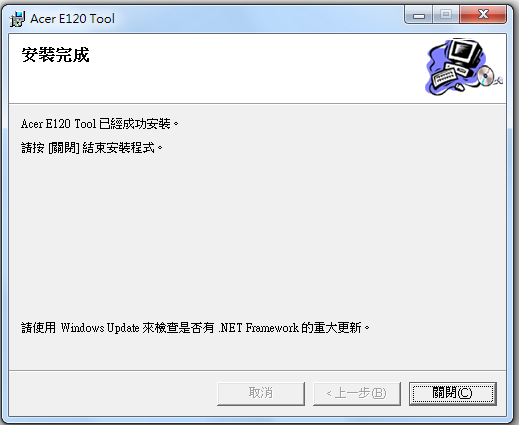
安裝完成後,畫面會自動關閉,若視窗未自動關閉的話,請手動點選"關閉"選項
Step6.
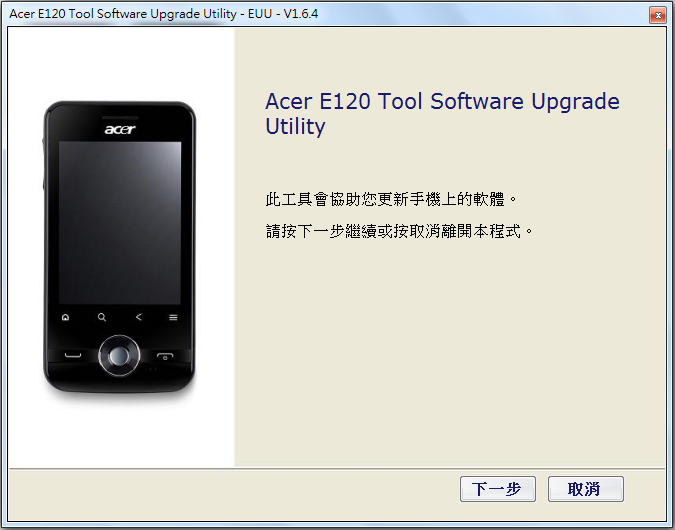
接下來會出現"EUU"(使用者升級)畫面,請按"下一步"
Step7.
接下來的畫面,會出現提示說明及注意事項,確認無誤後,請按"下一步"
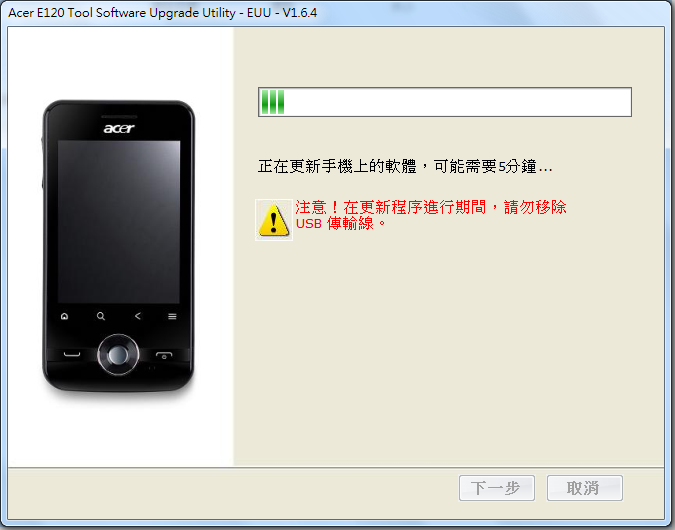
Step8.
開始升級(請確認USB Cable在升級過程中不被移除)
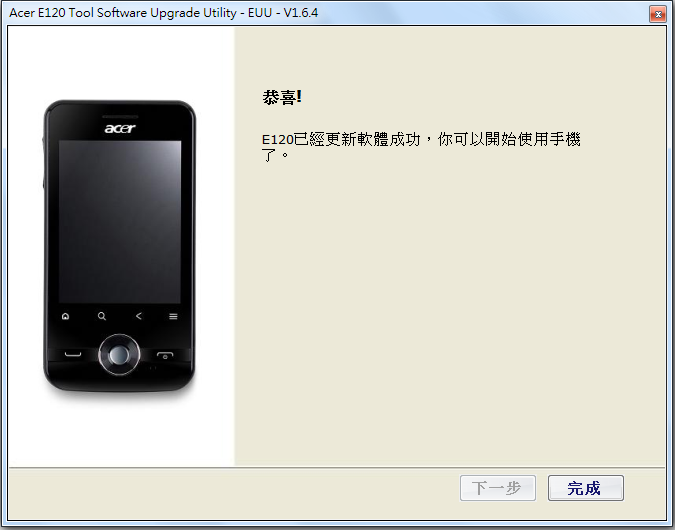
Step9.
待升級程序完成後,會出現以下訊息,請按"完成",再將手機與電腦中斷連線即可
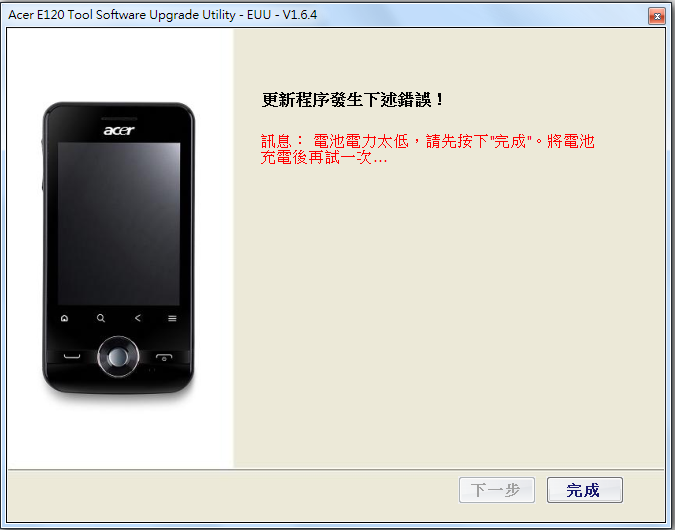
備註一:
當電池電力不足時,在升級過程中會被中斷(如圖所示),請將電池充飽電後再重新操作
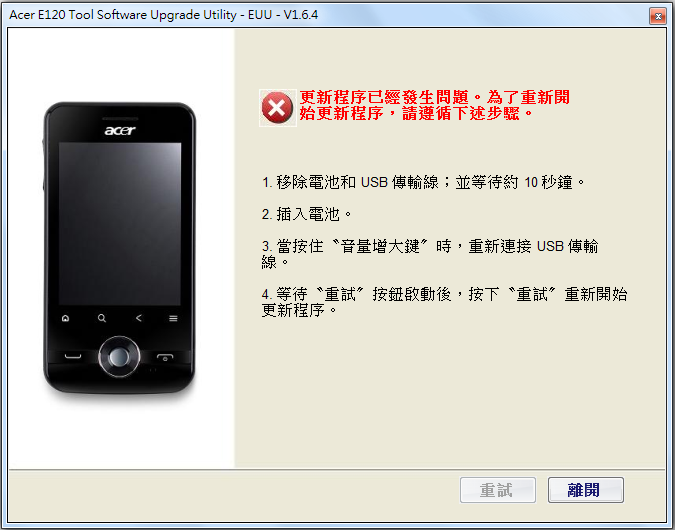
備註二:
若更新過程中出現錯誤或者是連線中斷的狀況,請依以下步驟排除
step1. 打開背蓋移除電池及USB傳輸線,並等待約10秒鐘
step2. 將電池裝上
tep3. 請按住"音量增大鍵"時,重新連接USB傳輸線
step4. 等待"重試"按鈕啟動後,按下"重試"重新開始更新程序